If you have done much hiking in the summer, you know how unpleasant it is to take a big swig of lukewarm water from your water bottle when you are already hot and sweaty. You want a sip of some nice cold water, but how do you keep your water cold when you are hiking on a hot summer day?
Here are the three easiest ways to keep your water cold on a day hike.
Insulated Hydration Bladders
Hikers tend to fall into two camps, those that love hydration bladders and those that loathe them. I’m a fan of insulated hydration bladders for summer hiking. If you get one with a large mouth or top opening, you can partially fill them with ice, which will keep your water colder longer and to further extend the time you have cold water, you can purchase an insulated hydration bladder.
Pros and Cons Of Hydration Bladders
The big advantage of hydration bladders to me is the hands-free operation and large capacity. There is not struggling to get water bottles in and out of side pockets on our pack. Additionally, it keeps your water weight more centered on your body, which is nice if you are hiking on uneven terrain, especially when carrying 2-3 liters of water.
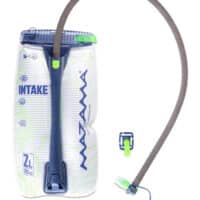
I also like ones with large mouths or openings as they are easy to fill and if you want you can easily add ice to them to extend how long you have cold water.
There are a variety of manufacturers that make insulated hydration bladders,
The downside to hydration bladders is that if your pack sits right on your back, they can warm up from your body heat. Additionally, the first sip of water in the hose tends to heat up so the first little bit of your drinks tend to be warm.
Insulated Hydration Bladder Suggestions
Several manufacturers make insulated hydration bladders. After a couple of years of using them, the hydration bladders from Mazama are my personal preference for hydration bladders whether insulated or not.
Additionally, many manufacturers make sleeves for their hydration bladders, or you can pick up a sleeve for insulating your hydration bladder. I’m going to try making an insulating sleeve out of the foiled bubble insulation this spring. I’ll let you know how that goes
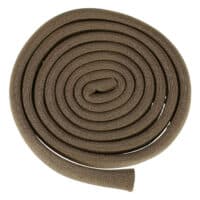
Lastly, if you really hate that first little bit of water in your hose being warm, you can buy hydration bladder hose insulation. That will help keep the water in your hose from getting warm in the sun!
Insulated Water Bottles
For people that prefer doing water bottles instead of hydration bladders, double walled or insulated water bottles are another option for keeping water cold on hikes. The double walled construction resist warming up the contents, while at the same time preventing condensation from building up on the exterior.
If you pack your water bottles with ice and then fill them with water, they will stay cold a very long time, allowing you to sip nice cold water all day long.
Pros and Cons Of Insulated Water Bottles
The big draw for insulated water bottles is their ability to keep things cold a very long time. Most will advertise that they will keep drinks cold for 24 hours, and from what I’ve seen, if you put ice and water in one, they will be cold the next day.
Water bottles require someplace to carry them. This usually means in your hand or in the side pocket of your day pack. Sometimes getting them in and out of those pockets can be a pain. Additionally, you will need multiple bottles if you are wanting more than a liter of water. They make bigger insulated bottles, but they don’t fit in pockets very well.
If you are weight conscious when it comes to your pack, insulated bottles are also a heavier option. A standard Hydroflask 40oz water bottle weighs about a pound empty, so 2 liters of water capacity adds two pounds to your pack.
Hydroflask is the best known name in insulated water bottles, but I did a whole post on Hydro Flask water bottle alternatives that you should check out.
Some Suggested Insulated Water Bottles For Hiking
- Klean Kanteen 32oz Insulated Stainless Steel Water Bottle
- Explore Nomad Insulated Water Bottle
- Thermoflask Double Stainless Steel Insulated Water Bottle

Regular Water Bottles
If you don’t want to spend the money on fancy double walled, insulated water bottles to keep your water cold on hikes, you can make do with regular old single walled water bottles. These are a cheap and easy solution for water on the trail. Whether you are using a Nalgene water bottle or just reusing your Smart Water water bottle, there are some tricks to keeping them cold.
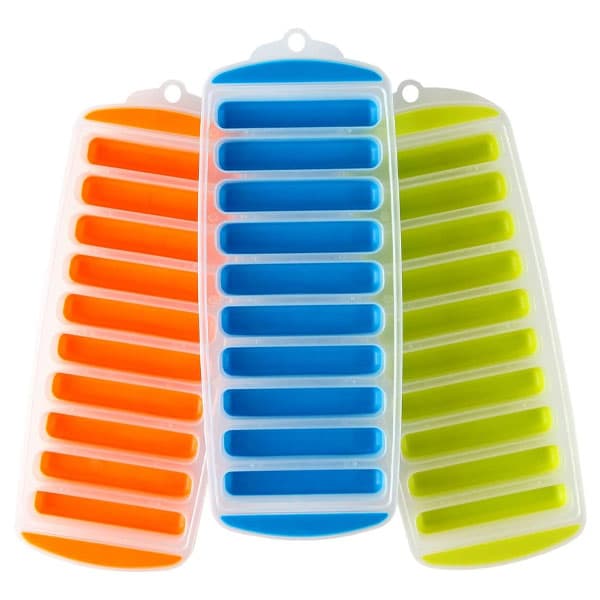
If your water bottles are the wide-mouth kind, you can pack them full of ice and then add water. This won’t keep your water as cold as long as it would in an insulated bottle, but it will extend how long it is cool. If you have water bottles with skinny necks, you can get fancy and get ice trays just for making water bottle friendly ice cubes.
Another trick to keeping water cold is to partially fill your water bottles and then freeze them. Be sure not to put too much water in them as water expands as it freezes and can break your water bottle.
Some Tricks For Keeping Your Water Bottle Cold
Even if you are rolling out with just a regular water bottle, there are a few things you can do to keep it colder longer. The first is keep it out of the sun. Stash your spare water in your pack, out of the sun. You can also repurpose old socks to make a sleeve for your water bottle. A little insulation will go a long way towards keeping your water cool on a warm day.
Speaking of insulating our single walled water bottle, you can always go DIY on it and make your own water bottle insulation. There are loads of sites with instructions on how to do it along with tips and tricks for insulating your water bottle.
- https://www.wikihow.com/Make-a-Thermos
- https://www.instructables.com/Easy-and-cheap-bottle-insulation/
- https://kitchenpantryscientist.com/homemade-water-bottle-insulator-back-to-school-science/
Pros and Cons of A Standard Water Bottle For Hiking
The big pro is that a standard water bottle is cheap or even free. For any frugal hiker or hiker on a budget, this is a big plus when compared to buying a couple of $30 insulated bottles.
Additionally, regular water bottles weigh little to next to nothing. My 1.5l Smart Water bottles weigh all of 1.8 ounces each.
The downside of course is that even with insulation, they won’t keep your water as cold as long as purposely built insulated container will. The other issue that I’ve run into with using frozen water bottles is that they don’t always thaw as fast as you want to drink. It is extremely frustrating to have a bottle that is 3/4 ice and to be waiting for more of it to melt so you can get another drink.
Final Thoughts On Keeping Your Water Cold When Hiking
There is a lot of joy in sitting down and having a cold drink during a long, hot hike. Regardless of whether you go with an insulated hydration bladder, an insulated water bottle, or just freeze a regular water bottle, cold water on a hot hike is magical.
Which works best for you will depend a lot on how warm it is when you go hiking and how long your hikes are. For example, if you are just going on short 1 to 3 mile hikes, you may not need insulated bottles. A couple of bottles of ice water will be more than sufficient. On the other hand, if you are planning on a long hike and want cold water on your way back to the trailhead, you will need to take some more extreme measures.
I suggest experimenting and seeing what combination works best for you.

